
How to Approve a Molded LED Diffuser Sample
Approve an LED diffuser using a fixed light board, a defined viewing setup and a separate check of the mating rim. Keep the sample and drawing revisions together.
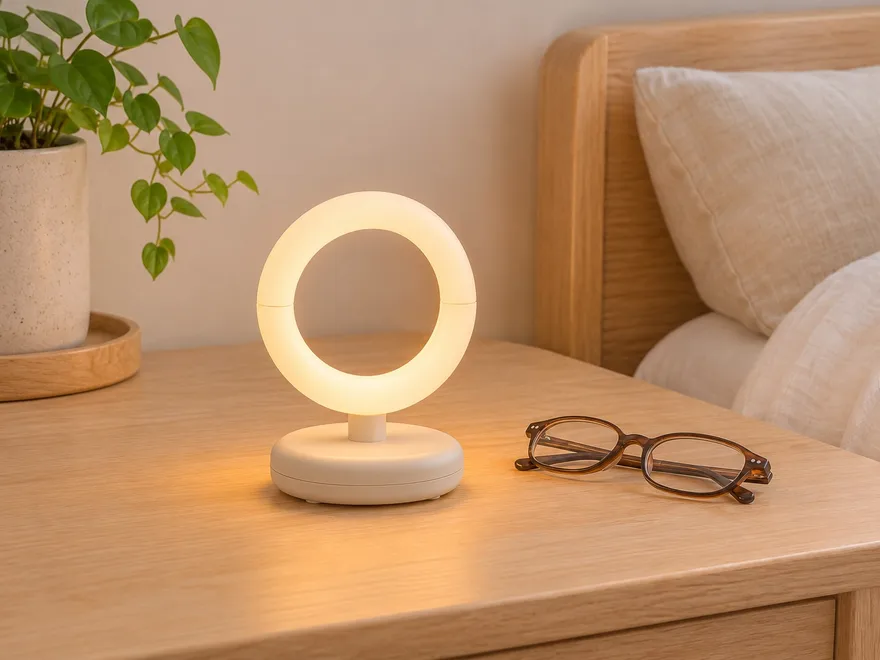
Define lit and unlit appearance
Mark where LED points, shadows or leakage will be judged when the lamp is on. Record the color, texture and visible molding marks to check when it is off.
Fix the viewing setup before comparing covers
Use the intended board, drive setting and cover orientation for each sample. Compare from the same angle and distance and record the ambient-light setup.
Screen candidate materials and compare finished parts
Covestro's LED portfolio reports optical properties for defined sample thicknesses. Compare candidate grades under comparable test conditions, then judge the assembled cover at its intended thickness and finish.
Record fit and retain the approved configuration
Check the diffuser rim with the mating housing, then record approved cover, board and housing revisions. Keep the sample, resin grade, finish and any unresolved criteria with the record.
RFQ checklist
- One cover and housing revision with an identified LED board
- Matching board drive, viewing distance and orientation
- Separate lit appearance, unlit appearance and fit results
- Approved sample, resin and finish with open items recorded
Related applications
- Custom Night-Light and Table Lamp Housings
- Custom Injection-Molded LED Diffuser Covers
- Compact Solar Wall Light and Lamp-Head Housings
- Compact Solar Wall Light Battery Covers
- Molded Mounting Parts for Small Lights
- Small Lamp Bases and Internal Supports
Technical references
Discuss a lighting plastic part
Identify the part to be quoted and attach its latest drawing and mating-part details. Include the intended use, finish and trial or order quantity.